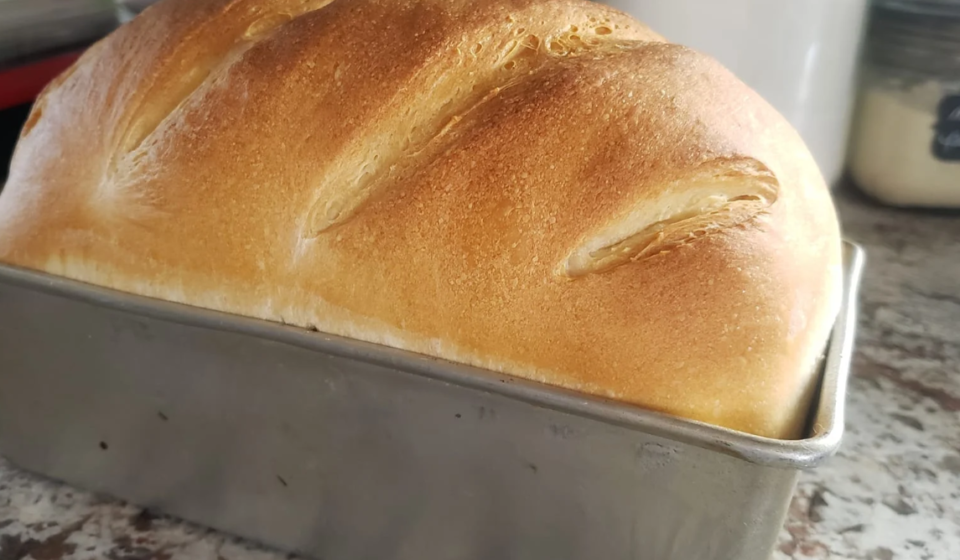

A crusty, golden artisan sourdough loaf with a chewy center, airy crumb, and naturally fermented flavor.
Ingredients
- 100 g active sourdough starter
- 350 g warm water
- 500 g bread flour
- 10 g salt
- Extra flour, for shaping
Before You Start — Check Your Starter
Use your starter when it is active, bubbly, and ready to bake with.
Look for these signs:
- It has doubled or nearly doubled in volume after feeding.
- The surface is domed or slightly rounded.
- You can see plenty of bubbles throughout the starter.
- It smells pleasantly tangy, yeasty, or slightly fruity.
- A small amount placed in water may float, but the rise and bubbly appearance are more reliable cues than the float test.
For the best results, use the starter when it is at or near its peak, rather than after it has completely collapsed.
Step-by-Step Guide
1. Mix the Dough
Add 100 g active sourdough starter and 350 g warm water to a large mixing bowl.
Mix until the starter is mostly dissolved.
Add 500 g bread flour and mix until there are no dry patches of flour.
Your dough should feel soft and slightly sticky.
Target dough temperature: about 75–78°F (24–26°C).
Cover and let the dough rest for 30 minutes.
2. Add the Salt
Sprinkle 10 g salt over the dough.
Wet your hand and gently pinch and fold the dough until the salt is fully incorporated.
Cover and rest for another 30 minutes.
3. Stretch and Fold
Over the next 2 hours, perform a stretch-and-fold every 30 minutes.
For each round:
- Grab one side of the dough.
- Gently stretch it upward.
- Fold it over the center.
- Turn the bowl.
- Repeat around all four sides.
After several rounds, the dough should feel smoother, stronger, and more elastic.
Target dough temperature during bulk fermentation: approximately 75–78°F (24–26°C).
If your dough becomes much warmer than this, fermentation may move faster, so watch the dough rather than following the clock exactly.
4. Bulk Fermentation
Cover the bowl and let the dough ferment at room temperature for approximately 4–6 hours.
Don’t rely only on the time. Look for these signs that bulk fermentation is finished:
- Dough has increased by about 50–75% in volume.
- The surface looks smoother and slightly domed.
- Small bubbles are visible around the edges and sometimes on top.
- The dough feels lighter and airy.
- When you gently shake the bowl, the dough has a noticeable jiggly, bubbly movement.
Target dough temperature: around 75–78°F (24–26°C).
If your dough temperature is warmer, it may ferment faster. If it is cooler, fermentation may take longer.
5. Pre-Shape
Lightly flour your work surface.
Gently turn the dough out onto the surface.
Try not to press all the air out.
Shape it gently into a loose round.
Let it rest uncovered for 15–20 minutes.
6. Final Shape
Gently tighten the dough by folding the edges toward the center.
Turn it over and use your hands to create gentle surface tension by pulling the dough slightly toward you across the counter.
The finished dough should hold its shape without spreading excessively.
Place it seam-side up into a well-floured banneton or a bowl lined with a floured kitchen towel.
7. Cold Proof
Cover the dough and place it in the refrigerator for 8–14 hours.
The cold temperature slows fermentation and helps develop flavor while making the dough easier to score.
For the best results, refrigerate the dough once it has been properly shaped and is ready for its final proof.
8. Preheat the Dutch Oven
The next day, place your Dutch oven with its lid inside the oven.
Preheat to 475°F (245°C) for at least 30–45 minutes.
A thoroughly heated Dutch oven helps create strong oven spring and a crisp crust.
9. Score the Dough
Take the dough directly from the refrigerator.
Turn it onto parchment paper.
Lightly dust the surface with flour if desired.
Using a sharp bread lame or razor, make one deep slash across the top.
Score quickly and confidently so the dough doesn’t lose too much structure.
10. Bake
Carefully place the dough into the hot Dutch oven.
Cover with the lid.
Bake at 475°F (245°C) for 20 minutes.
Remove the lid and reduce the oven temperature to 450°F (230°C).
Continue baking for another 20–25 minutes, or until the loaf is deeply golden brown.
For an extra-crisp crust, you can leave the loaf in the switched-off oven with the door slightly open for 5–10 minutes.
11. Cool Completely
Remove the bread from the Dutch oven and place it on a wire rack.
Let it cool for at least 1–2 hours before slicing.
Do not cut into the loaf while it is still hot. Cooling allows the crumb to finish setting and helps prevent a gummy texture.
🌡️ Temperature & Fermentation Guide
- Starter: Use when doubled/nearly doubled, bubbly, and at or near peak.
- Mixed dough: Aim for 75–78°F (24–26°C).
- Bulk fermentation: Watch dough growth and bubbles, not just the clock.
- Cold proof: 8–14 hours in the refrigerator.
- Covered bake: 475°F (245°C) for 20 minutes.
- Uncovered bake: 450°F (230°C) for 20–25 minutes.
🍞 Storage
Allow the loaf to cool completely before storing.
Keep at room temperature in a bread bag or bread box for up to 3 days.
For longer storage, slice and freeze in an airtight freezer bag for up to 3 months.