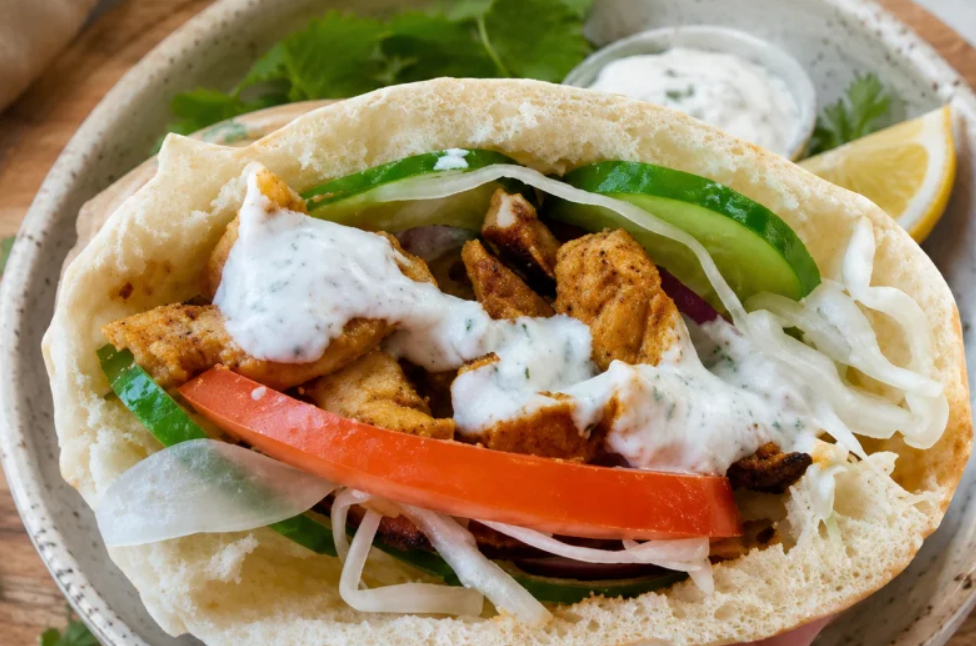

Soft, chewy, slightly tangy, and beautifully puffed, these homemade sourdough pita breads are naturally fermented overnight for better flavor and texture. They’re perfect for wraps, sandwiches, dipping, or serving alongside your favorite meals.
Prep Time
25 minutes
Fermentation Time
8–12 hours
Cook Time
15–20 minutes
Total Time
About 9–13 hours
Yield
8 pita breads
Ingredients
- 100 g active sourdough starter, bubbly and recently fed
- 300 g warm water
- 500 g bread flour
- 10 g fine sea salt
- 15 g olive oil
- 10 g honey or sugar
Instructions
1. Mix the Dough
In a large mixing bowl, combine the active sourdough starter, warm water, honey, and olive oil. Stir until the starter is mostly dissolved.
Add the bread flour and mix until a shaggy dough forms. Cover and let the dough rest for 30 minutes.
2. Add the Salt
Sprinkle the salt over the dough. Knead gently by hand for about 5–7 minutes, or perform several rounds of stretch-and-folds until the dough becomes smoother and more elastic.
The dough should feel soft and slightly tacky but not excessively sticky.
3. Stretch and Fold
During the first 2 hours of bulk fermentation, perform 3–4 sets of stretch-and-folds, approximately 30 minutes apart.
To stretch and fold, grab one side of the dough, gently stretch it upward, then fold it over the center. Rotate the bowl and repeat on all four sides.
4. Overnight Fermentation
Cover the bowl tightly and leave the dough at room temperature for approximately 8–12 hours.
The exact time depends on your room temperature and starter strength. The dough should become noticeably puffy and increase in volume by roughly 50–75%.
5. Divide the Dough
The next morning, lightly flour your work surface and transfer the dough onto it.
Divide the dough into 8 equal pieces, approximately 115–120 g each.
Shape each piece into a smooth ball by gently pulling the edges toward the center and rolling it underneath itself.
Cover the dough balls with a clean towel or plastic wrap and let them rest for 20–30 minutes.
6. Roll the Pitas
Lightly flour your work surface.
Take one dough ball and gently flatten it with your fingertips. Roll it into a circle about 15–18 cm (6–7 inches) wide and approximately 3–4 mm thick.
Try to keep the thickness as even as possible. Uneven dough may prevent the pita from puffing properly.
Repeat with the remaining dough balls.
7. Preheat the Pan
Place a heavy cast-iron skillet, griddle, or pizza stone over medium-high to high heat.
Allow it to preheat for at least 5–10 minutes. The cooking surface needs to be very hot for the pita to puff and create the pocket.
Do not add oil.
8. Cook the Pita
Place one rolled pita onto the hot, dry skillet.
Cook for about 30–45 seconds, until small bubbles begin appearing on the surface.
Flip it and cook for another 30–45 seconds.
Flip again. Within the next 30–60 seconds, the pita should begin puffing up like a balloon.
Once fully puffed and lightly browned in spots, remove it from the pan.
Repeat with the remaining pitas.
9. Keep Them Soft
Immediately place the cooked pita breads in a clean kitchen towel and cover them.
Keeping them covered allows the steam to soften the crust and keeps the pitas flexible.
Step-by-Step Quick Guide
Step 1: Mix starter, water, honey, and olive oil.
Step 2: Add flour and mix into a shaggy dough.
Step 3: Rest for 30 minutes, then add salt.
Step 4: Knead or stretch-and-fold until the dough becomes elastic.
Step 5: Bulk ferment overnight for 8–12 hours.
Step 6: Divide into 8 equal pieces and shape into balls.
Step 7: Rest for 20–30 minutes.
Step 8: Roll each ball into a thin 6–7-inch circle.
Step 9: Cook on a very hot, dry skillet until puffed.
Step 10: Cover the cooked pitas with a towel and serve warm.
Tips for Perfect Sourdough Pita
- Use an active starter: Your starter should be bubbly, strong, and able to rise after feeding.
- Get the pan very hot: Insufficient heat is one of the main reasons pita doesn’t puff.
- Don’t roll too thick: Thick dough can make it difficult for the pita to form a pocket.
- Don’t use too much flour: Excess flour can burn in the hot pan.
- Don’t press the pita while cooking: Let the steam inside naturally inflate the bread.
- Keep cooked pitas covered: This helps maintain their soft texture.
- Watch fermentation: In a warm kitchen, the dough may ferment faster than 8–12 hours.
How to Store
Once completely cooled, store the pitas in an airtight bag or container at room temperature for 2–3 days.
For longer storage, freeze them in a freezer-safe bag for up to 3 months. Separate individual pitas with parchment paper so they are easy to remove one at a time.
Reheat in a dry skillet or microwave briefly before serving.
Serving Ideas
Serve these sourdough pitas with:
- Hummus and roasted vegetables
- Grilled chicken
- Falafel
- Gyro or shawarma filling
- Scrambled eggs
- Chicken salad
- Fresh vegetables and feta
- Garlic yogurt sauce
Final Thoughts
These overnight sourdough pita breads are worth the wait. The long fermentation gives them a wonderful mild tang, while cooking them on a very hot skillet creates those beautiful hollow pockets. Once you get the heat and dough thickness right, homemade pita becomes surprisingly easy—and much fresher than store-bought bread.